What is ISO?
Today I am going to explain what ISO is. ISO is one of the three elements that make up the exposure triangle, the other two being Shutter Speed and Aperture. But today, I am going to give you the basics on what is ISO and 3 ways to make it work for you.
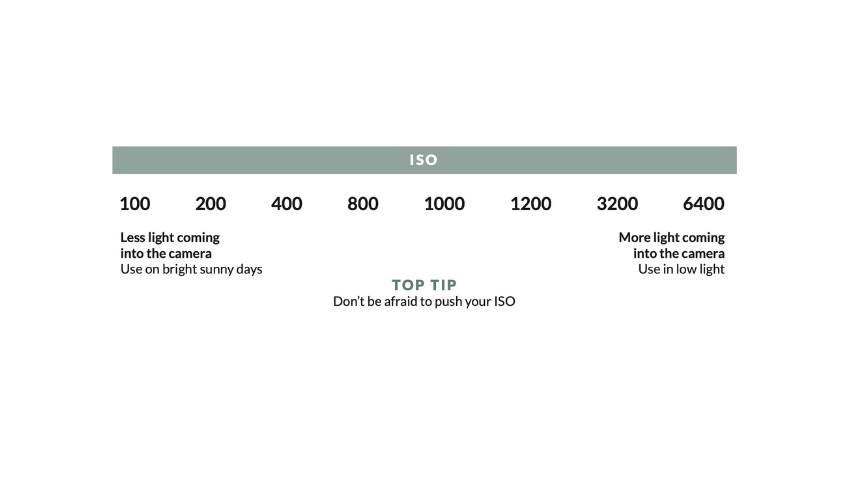
ISO is a bit intimidating to beginner photographers, but it doesn’t have to be. ISO is just a setting that will make your photo brighter or darker, and your camera has a “base” ISO. The base ISO is the lowest ISO your camera can go and is usually ISO100 on most cameras. This base ISO is where you can get the highest quality image with the least amount of noise. If you increase your ISO, the sensitivity to light in your camera increases, resulting in a brighter picture. With every bump up the ISO, you are doubling the brightness of your image.

If you decrease your ISO, the sensitivity decreases, resulting in a darker picture. You increase your ISO when you can’t get light into the camera through the shutter speed and the aperture. I often hear people say that they can fix the ISO “in post-processing.” Raising your ISO in the camera will produce a better quality photo, better than increasing your exposure in post-processing. Like I always say, “get your best photo straight out of the camera!”
Easy enough, right? Well, there are some consequences to using the wrong ISO…If you use too high of an ISO, you can also get grain or “noise” in your image. Essentially you want to use the lowest possible ISO that you can for any given situation, but it is okay to up your ISO…and you shouldn’t be afraid to do so. (I’m kind of contradicting myself, but you’ll see why!)
What is ISO? Plus 3 Ways To Make it Work For You
Low ISO
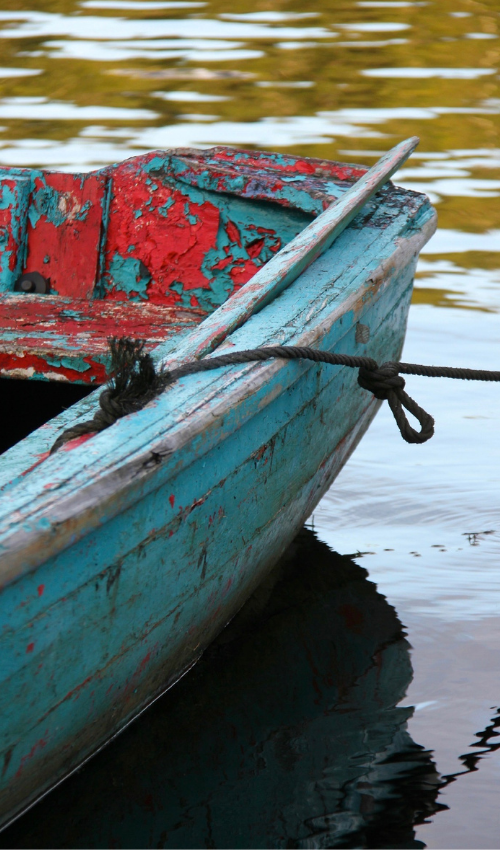
The number one way to make ISO work for you is to understand how much ISO you need. If there is plenty of light in your room, or you are shooting outside, using a low ISO (100 or 200) is usually possible. In using this lower ISO, you minimise the risk of noise in your photos.
Even in some low light situations, if using a longer shutter speed with a tripod, you can use a lower ISO.
If you are shooting landscape photography with a tripod, you will want to stay as close to your “base” ISO as possible to ensure that you have zero grain in the photo.

Mid-ISO
You would shoot a mid-ISO of 400-800 during a less extreme time of light, say during the golden hour.

High ISO
Many photographers are afraid to up their ISO beyond the 800 mark. Don’t be! Camera’s have improved a lot over the years, and most cameras can easily shoot and handle higher ISOs. Keep in mind that each camera has an optimal ISO that you can hit before getting too much grain.
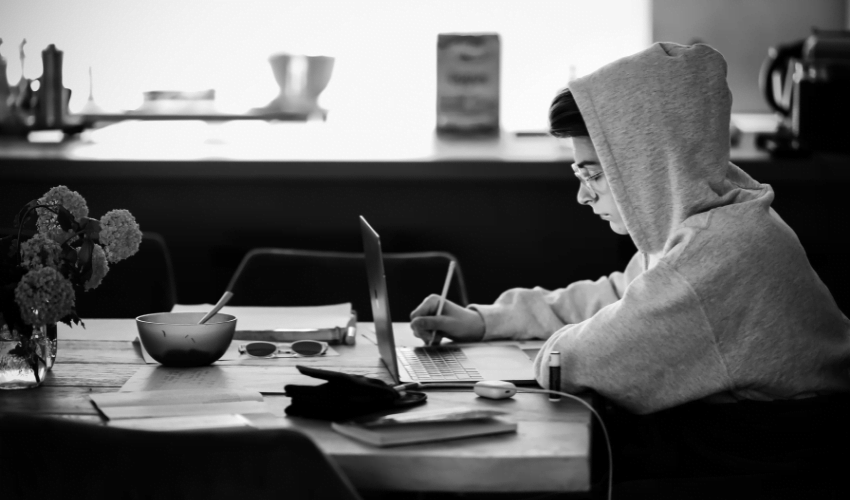
You should increase your ISO if there is not enough light to get your shot any other way. If you are shooting at a time of day when there isn’t a lot of light, at a concert, or a party. It will bring in a bit of noise, but you shouldn’t lose the image’s quality.

There is so much more to cover on ISO, but I hope I have given you a basic understanding of what is ISO and 3 ways to make it work for you. Now I want you to go practice the third way that you can make ISO work for you. I want you to grab your camera and push your ISO. Practice finding that ideal higher ISO for your camera, and practice using it. Practice shooting at your camera’s “base” ISO, the mid-ISO for your golden hour shots and the push your ISO in low-light indoor shots.
Have fun, practice and remember that it’s okay to up that ISO! And if you want to learn even more about how ISO plays a role in the exposure triangle, check out The Beginners Photography Essentials Class and take your photos from snapshots to professional-looking photos TODAY!


