
I am all about organization, especially at this time of year, and today I am sharing my 5 steps to organize your photos! Every spring, I tackle some organizational projects, and last year, one of my big spring cleaning projects was organizing my photos.
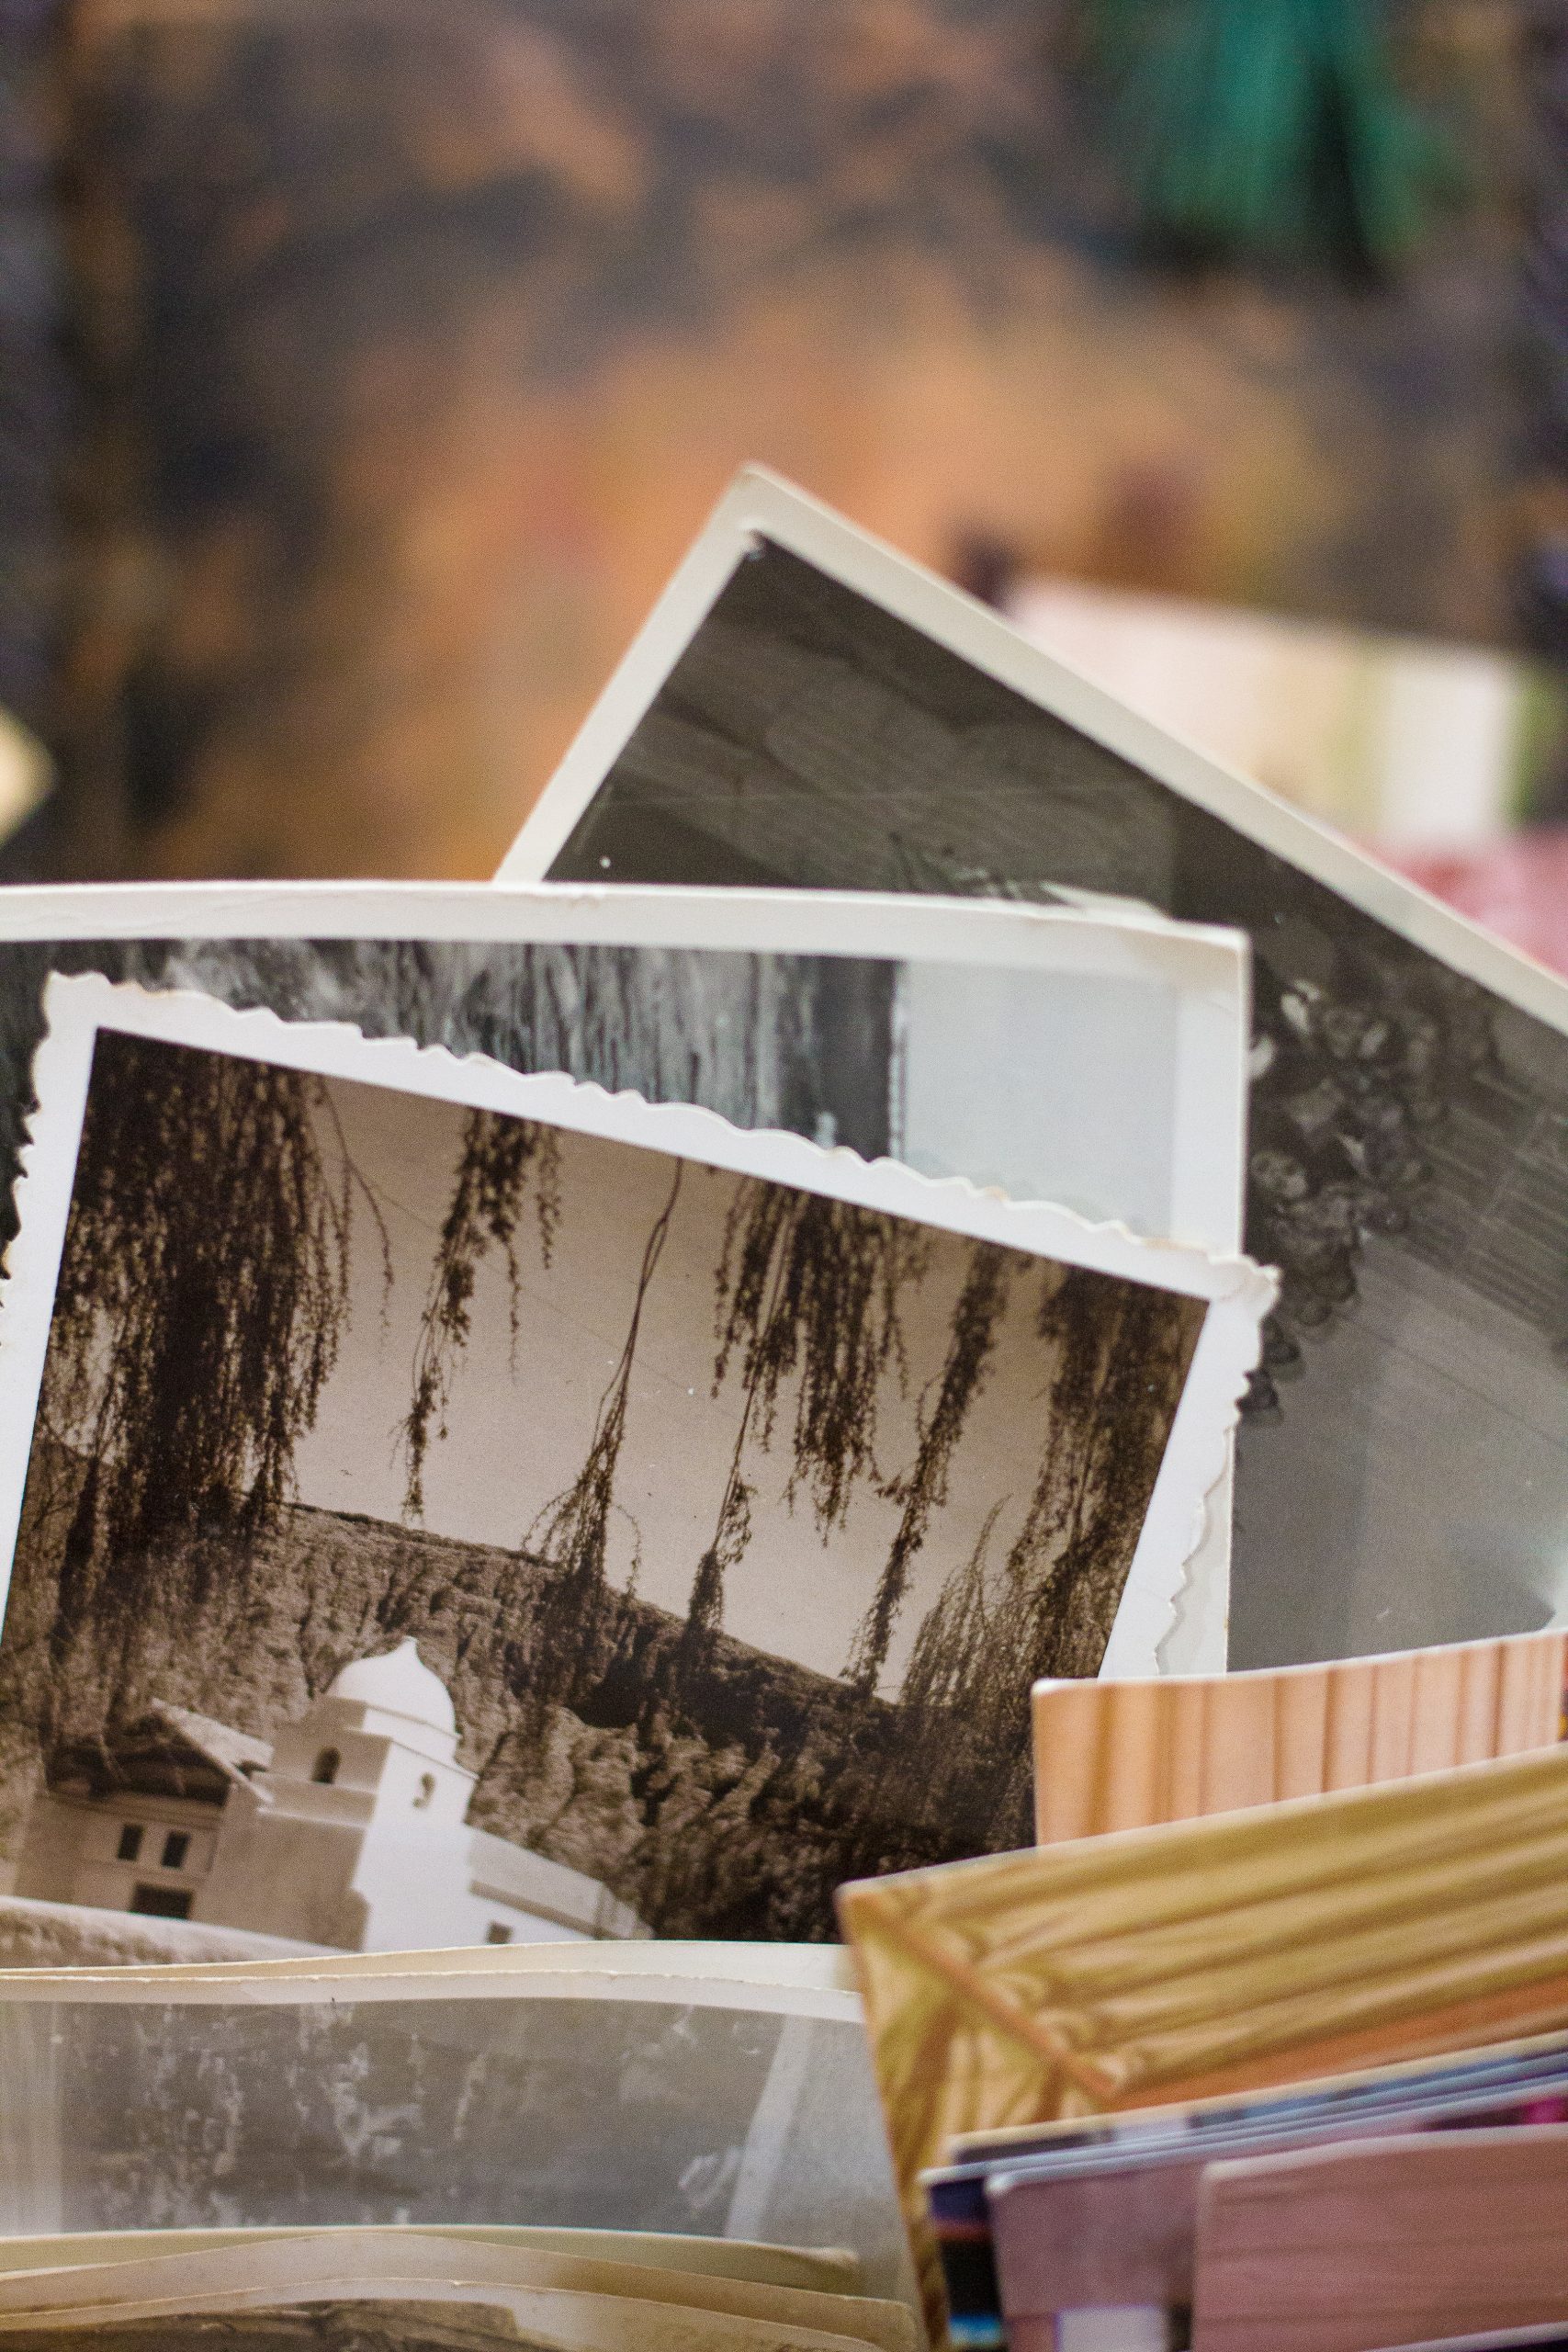
You’ve got the camera and equipment, you’ve used the hacks to get amazing photos …now, what do you do with the thousands of photos you have? If you are like me, you need a system to organize those images. My biggest fear is losing these treasured memories. Mine were all on different devices, CD’s-some of you may be too young to remember putting photos on those… I even had pictures on a laptop that I can no longer access.
So, what did I do? I put together a “system” to help organize all of my memories, and today, I am sharing the 5 steps system with you.
Now, this is a big project, and it can be overwhelming! I want you to take it year by year and month by month. I would also suggest that you work backward, starting with the current year.
Steps to Organizing Your Photos
Step #1…Gather
So, just like any other organization project, you want to make sure that you have everything in one place, so step one is to bring all of your photos and devices together in one place. Depending on the number of photos you have, this “place” can be on your computer. However, putting all of your photos on your computer can take up a lot of space, so you may want to do this on an external hard drive. Once you have decided the location, move all photos from the individual devices to the “hub.” Keep in mind that this can take a long time, so work one device at a time and don’t get discouraged!
Step 2…Create Your System
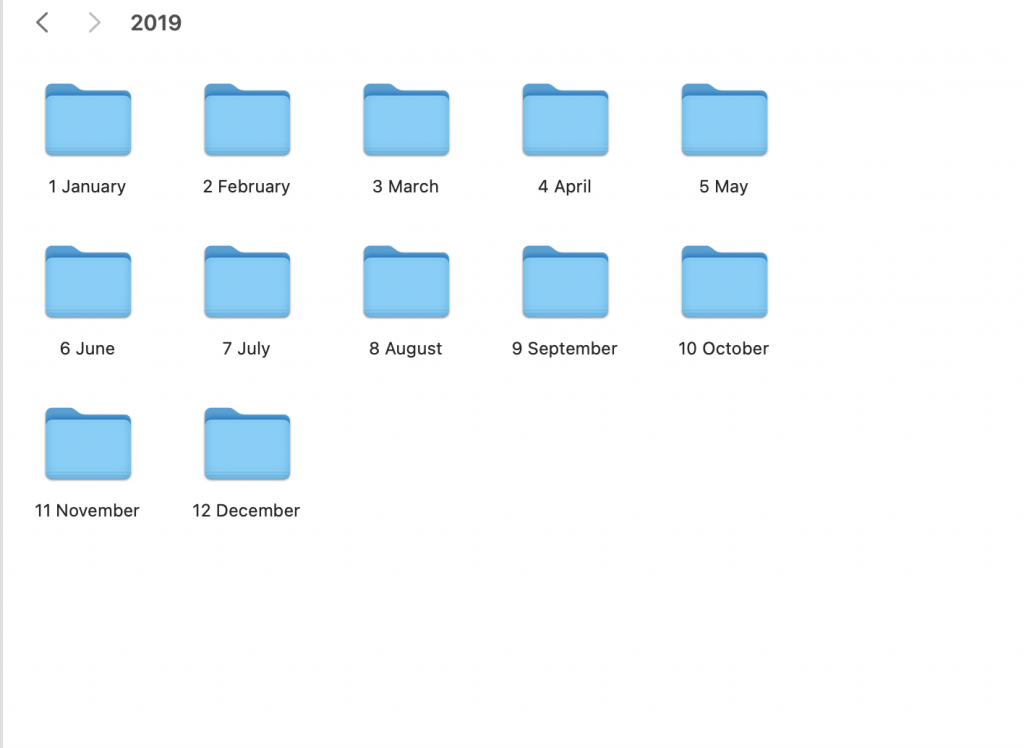
Step 2 is my favorite step! This is where you create the system to organize all of your photos and carry this system forward for all future images. You can organize many ways, but my favorite and what I find the easiest is creating chronological folders, but remember the key is finding what works for you so that you stick with it.
I have a master folder on my desktop called “Personal Photos” and another for “Images by Dena.” In each folder, I have years. In each year, months. When labeling the months, I always put a number in front of the month. For example; 1-January, this will make sorting by name easier. I also have a folder called “Misc Photos.” I put the photos that I am unsure about here until I can spend a bit more time figuring out where they belong.
Step #3…Culling Your Photos
This is by hard the most challenging step for me. Once you have your photos all in one place and your photosystem set up on your computer, it’s time to cull the images.
Now, I’m a mom and a photographer, so you can imagine the number of pictures that I have of my kids. This isn’t easy but try to be ruthless. If that photo doesn’t evoke a memory, feeling, or happiness…delete it. If you look at it and wonder why you took it…delete it. It’s okay to delete photos, I give you permission, and you need to give yourself that permission as well.
Once you’ve deleted all of the photos you no longer wish to keep, you are going to organize your month even more. Inside each month, I have additional folders labeled by the day, the month, and the event. Remember that you can always check the metadata for info on what date your photos were taken.

Step #4…Backup
This is the most important step in the entire process…backing up your photos! I am neurotic with this step as losing my photos is a massive fear of mine. My images are incredibly important to me, as I am sure most peoples are, so you want to make sure they are backed up. I have my photos organized on my computer, external hard drive, and a cloud service.
You can purchase a hard drive based off on your needs, but as I said, I would use both a hard drive and a cloud service.
Step #5…Maintenance
Step #5 is where your commitment comes in. Just like any other organizational project, you are going to need to maintain it. On this one, do as I say, not as I do. I would suggest that you organize any new photos monthly, but I tend to do them every six months, which is not a great habit.
Woot Woot…You’re Organized!!
Okay, now this is not an easy project, and it can take a long time, but I promise that you will feel so relieved and maintenance is effortless once you complete it.
Check out this video for step by step instructions! Happy organizing!


